Scrapbook Layout: Wedding Scrapbook Wedding Favors Layout

Wedding Scrapbook Favors LayoutI’ve said it before and I’ll say it again:  this is what makes this project a wedding scrapbook and not a photo album.  The purpose of this page is to hold our actual wedding favors.

I created two vellum envelopes to hold the favors.  The first one is a set of 4×6″ recipe cards in white vellum.  I used a template from my set of Paper Source Envelope Templates to cut it out.

Wedding Scrapbook Favors LayoutThe second envelope is pink vellum and holds the tiny recipe cards that went with our cookie buffet.  I re-tooled a Paper Source Envelope Template to custom fit these little cards.  I traced a larger template on a piece of paper, then put it in a copier to shrink it.

Wedding Scrapbook Favors LayoutI added a strip of patterned paper at the top and bottom and a headline.

Wedding Scrapbook Favors LayoutI completed the layout with pictures of the favors at the wedding, including ones that wouldn’t fit in the scrapbook: cookies, chocolate, takeout containers, etc.

Wedding Scrapbook Favors LayoutTo see all the pages of my wedding scrapbook so far and to learn more about the papers I’m using, visit my wedding scrapbook page.

Craft Tutorial: Gift Card Storage Envelope

Gift Card Storage EnvelopeI love gift cards.  I love using gift cards.  I never remember I have gift cards.

Gift cards always end up rolling around in my desk.  I created this pretty envelope to hold all of our gift cards and certificates.  Now I won’t have to go digging in our desk for buried treasure!

Supplies

  • Envelope template from Paper Source, size A7If you don’t have envelope templates, you can easily search for and print out one to use.
  • Pretty paperI used this yellow blossom print from Paper Source but I don’t see it on their site anymore.
  • Cardstock
  • Glue/TapeNeeds to be strong stuff so the envelope will be durable.
  • Scissors

Gift Card Storage EnvelopeHow to Make a Gift Card Storage Envelope

First, glue your paper to the cardstock, then trace and cut out the envelope template.  The cardstock will give the envelope some heft and durability.

Gift Card Storage EnvelopeCut a piece of cardstock as wide as the envelope and a couple inches tall.  Glue it toward the top inside the envelope.  This adds an extra level of storage inside the envelope.

Gift Card Storage EnvelopeCut a slit in the envelope to tuck the top flap.  This makes for neat storage.

Gift Card Storage EnvelopeFinally, glue the envelope together.  Trick: if you have a lot of gift cards, glue the envelope with the gift cards already inside.  If you glue the envelope by itself completely flat, there won’t be much “give” in the envelope.  If you glue it with some stuff already inside, it’ll give the envelope a little puffy shape and more room.

Gift Card Storage EnvelopeThat’s it!  This whole process took me less than 30 minutes (not including glue drying time).

Gift Card Storage Envelope

Custom Address Stamp from Paper Source

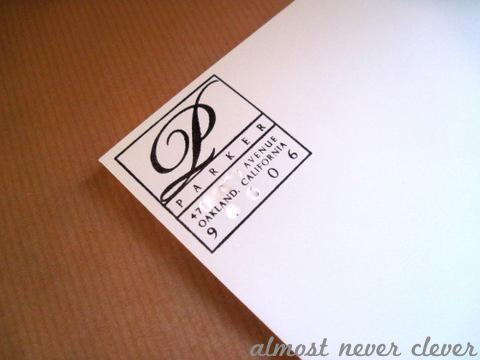
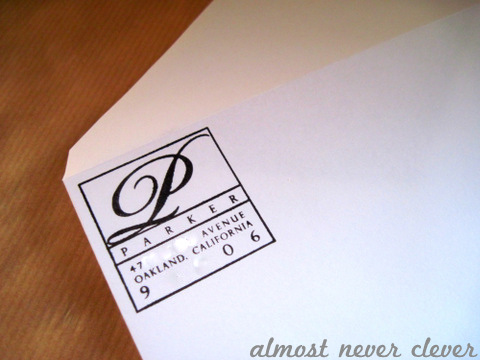
Paper Source Custom StampMeet my new return-address stamp, a gift from Mr. P for Christmas.

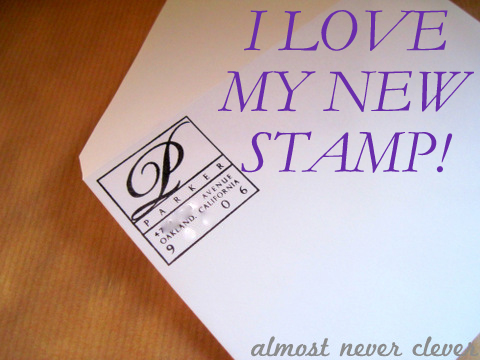
I love this new stamp.

Maybe that wasn’t clear enough:

Paper Source Custom StampSeriously, love.  I’m looking around the house for stuff to mail just so I can use the stamp.  I thought about stamping all the envelopes for our Christmas cards next year, but that’s probably overkill.

The Particulars

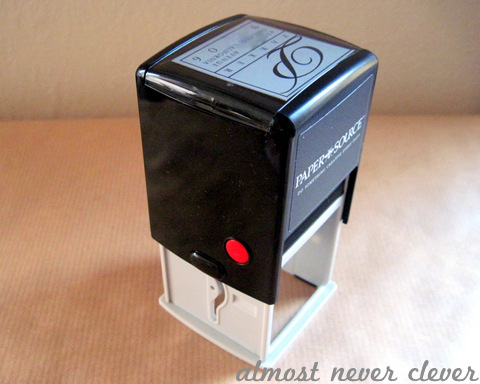
The custom stamp gift set is sold by Paper Source, but Three Designing Women is the company that actually manufactures and delivers the custom stamp plate.  This makes such a great gift because the set comes with the self-inking stamper, the stamp pad and a coupon code so the giftee can pick out and order his/her own stamp design.  The custom stamp plate is shipped free!

Paper Source Custom StampThe stamped design is about 1 3/8″ x 1 3/8″.  It is rather large on small envelopes, but I still love it.

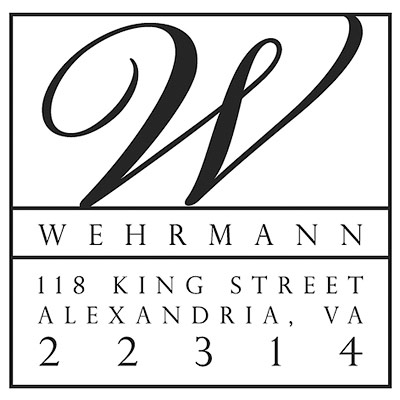
I know, it’s hard to picture the design when I block out part of the address to keep the crazies from knowing my home address.  Here’s a clearer view of the design (image credit to Paper-Source.com):

Paper Source Custom StampPros and Cons

Pros:

  • It was very easy to order.  There are a ton of designs and I found the perfect one after I got over my initial shock all the pretty options.
  • Once it arrived, the plate was very easy to install.
  • The customer service at Three Designing Women was very helpful when I wanted to check the status of my order but lost my order number when my computer crashed.

Cons:

  • I wish I was able to preview my custom design before ordering.  It turned out great, but I get paranoid.
  • If I press the stamp too hard because I want the P to get fully inked, the little A’s in the address can get over-inked.  This doesn’t bother me too much because I doubt anyone is closely examining it.

Paper Source Custom StampCustom Stamp Gift Set from Paper Source, $39.95

I was not paid to endorse this product by Paper Source or Three Designing Women.  Neither company knows I am even writing this review.  I only review products I actually purchase and love.